Garden building construction guide
A guide to the stages of erecting a large timber garden building
Want to know how a Palmako timber garden building is constructed? The following garden building construction guide provides quick step-by-step instructions that cover the main areas of timber garden building construction; in this case, the Emily (40.1 + 5.2Sq m) log cabin holiday chalet.
We also have video guides that show the construction of smaller chalet cut tongue and groove garden buildings, as well as our modular Quick Fit garden rooms that feature pre-assembled wall elements.
If you're looking for a compact yet stylish retreat, a small log cabin can offer the perfect balance between functionality and aesthetics.

1. Foundations and parts
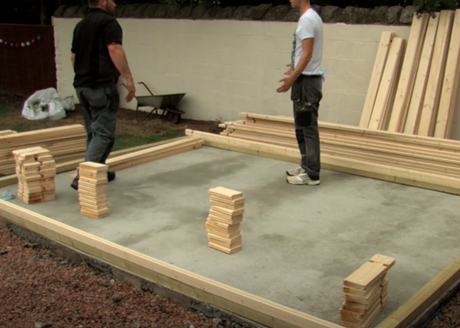
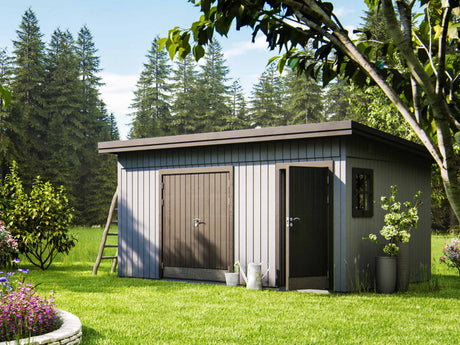
This is the early stage of construction of an Emily (40.1 + 5.2Sq m) log cabin. This cabin has been built on a concrete block foundation strategically placed to support pressure treated foundation beams. For those with limited space, a small garden shed can be an excellent alternative, offering practical storage while maintaining a compact footprint.
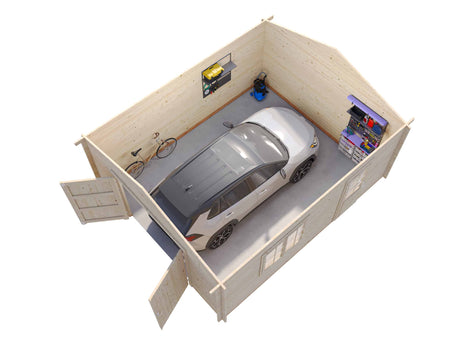
These pressure treated foundation beams are included with all Palmako cabin kits. Similarly, larger structures like a double garage also require a solid foundation for durability and stability. This cabin could also be built on a concrete pad if preferred. Please note wall logs have been individually labelled for ease of construction.
For ease of identification it is also recommended to take some time to lay out all component parts to ensure all parts are present and to hand during construction. By following the instructions provided and cross referencing log labels the walls are constructed much like Lego, with parts fitting one on top of another.

2. Preparing log cabin apexes
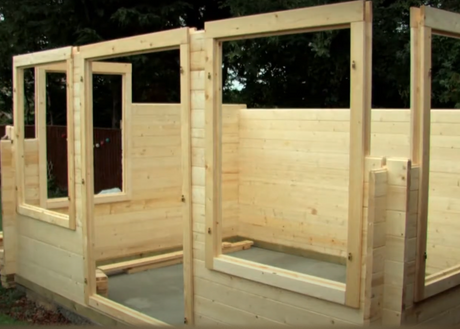
The cabin is now at eaves height and the construction crew are preparing apexes. Make sure there are steps to hand once the wall height exceeds your manageable reach.

3. Adding purlines to the building
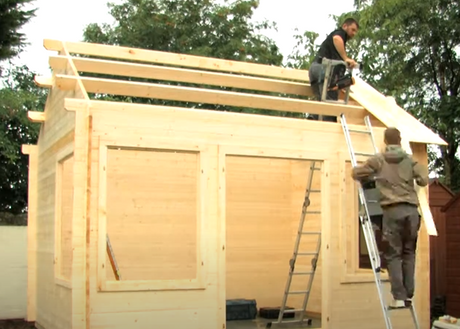
The cabin has now had apexes fitted. The purlins slip in to pre cut notches and are screwed in to place. The top of the purlin needs to be flush with the top of the apex to ensure no gaps will appear when roof boards are nailed in to place. You can also watch this process in one of our videos.

4. Insulating the building roof (optional)
The roof insulation is being fitted to the roof and is inserted between roof purlins. Please note an internal roof cladding kit needs to be purchased as an extra in order to achieve this. Alternatively roof insulation can be put on the outer roof boards if preferred, and solid insulation strips can be added to the floor too.

5. Putting roof boards in place
The tongue and grooved roof boards have now been nailed in place and the roof is now ready to be made watertight. Bitumen shingles are ready to be fitted.

6. Fitting roof shingles to the building
Bitumen shingles are being fitted by the crew ensuring the cabin is now watertight. These shingles are easy to apply, available in black, green and red, and they give you a nice natural slate effect . Heavy duty roofing felt can also be chosen as an option on the majority of Palmako log cabins.

7. Installing plumbing and power
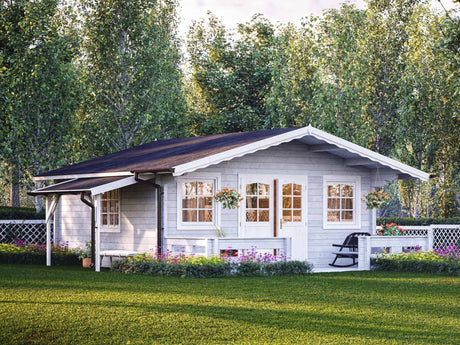
For large log cabins a strip foundation allows for easy access to install plumbing and power. If you're looking for options that combine spacious interiors and practical features, our range of large log cabins offers exceptional choices for both residential and commercial uses.
Please note that these services would need to be completed by qualified plumbers and electricians. Generally these services are sourced locally by our customers and not undertaken by Palmako.

8. Cozy log cabin mezzanine area
Unique to the Emily (40.1 + 5.2Sq m) log cabin, this mezzanine provides ample storage space, a really cool sleeping area for children or just a quiet area to chill on a bean bag!

9. Log cabin mezzanine safety
Steps and a safety rail for the log cabin mezzanine are included with the kit for the Emily (40.1 sqm + 5.2 sqm) log cabin holiday chalet.

10. Making the garden building watertight
A completed Emily (40.1 + 5.2Sq m) log cabin that’s ready for painting. The external deck boards and terrace have been installed, as have the pre-assembled doors and windows. All external deck boards come pressure treated and cut to size – a nice area to sit and relax of an evening!

11. The finished log cabin
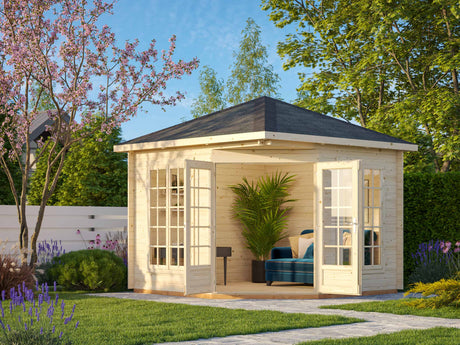
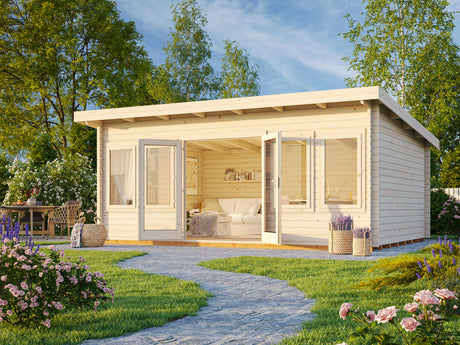
The fully finished and painted Emily (40.1 + 5.2Sq m) log cabin – ready for use! Please note all log cabins should be treated with a preservative suitable for smooth or finished timber.
There are many suitable products on the market – the particular favourites for Palmako would be Butinox or Cuprinol, but please call us for advice if you are unsure. Dip treatment is available on most of our models, but if not you will need to paint or treat your building as soon as it is constructed.
Hopefully this garden building construction guide will have been of help, but if not please have a look at our construction videos or get in touch with your questions.


