Some of the UK had 30+ degree temperatures this September, so you might think a post about garden shed maintenance advice is badly timed, but the first Christmas puddings also arrived on supermarket shelves this month. This, and the ever shortening days, is always a depressing signal that autumn is really upon us.
Whilst it may be fine to leave the Christmas food and present shopping until late December, protecting your garden shed from autumn and winter gales won’t wait that long.
The rain, wind and damp of a British autumn are the three great enemies of any timber garden building. If you want to get maximum enjoyment and longevity from a garden shed, summer house or garden office, you need to keep them at bay. Here’s our garden shed maintenance advice broken into 10 handy tips that you should consider this autumn.
Tip number 1: Ensure nothing is left touching the building
Cut back any trees and shrubs near your timber garden buildings, as they will prevent air flow, and make it harder for timber to dry out between rain showers. Even worse, overhanging branches can easily damage the roof felt or shingles in high winds. It might be tempting to leave garden furniture, tools or logs resting against the back wall of the building where they are out of sight, but you need to leave a clear gap to stop moisture building up.
Tip number 2: Use the best garden shed timber treatment and preserver
All exposed wood should be treated with good quality wood preservative to prepare it for winter. Ideally, you will have done this when you first installed the building, but you also need to reapply regularly. GardenLife recommend Barrettine wood preserver to stop wood boring insects, rot and fungal infection, plus Barrettine log cabin oil to help form a watertight layer. Cuprinol also has a good range of wood preservatives and protectors, as well as some good advice on how to protect and revive a shed.
And if you want to makeover your garden shed more radically, there are excellent stains and paints for timber buildings available in the Sadolin and Sikkens ranges.
If you have loose shingles, felt or flashing, their chances of surviving high winds are dicey. Far better to make small repairs before the first gales of winter strike than to have to deal with far bigger emergency roof repairs and water damage post-storms. You can buy replacement felt and shingles at most large DIY chains, and if you want to re-roof a GardenLife building get in touch with us and we can quote for the appropriate amount of felt or shingles.
Tip number 4: Get out the oil can
Check that hinges, handles, locks and padlocks are moving freely, and give them a coat of oil to keep it that way. If you need to get oil inside locks or handles get a spray can of WD-40 with a straw – you can then spray right inside moving parts without having to take things apart. Also check that doors or windows open and shut easily; if they don’t, you’ll need to investigate further to check that frames haven’t swollen, warped or twisted. If you need to sand or plane a surface down to free a sticking door or window, remember to reapply wood preserver and treatment afterwards.
Tip number 5: Clear all gutters
If your shed or garden building has gutters, check they’re not blocked. Clear away all leaves and other blockages, and keep on doing this throughout the autumn. If gutters block, water may overflow down timber walls, causing damp problems. Should your garden building be located underneath a large tree, leaf build-up could be a persistent problem. In this instance you might want to consider adding a mesh leaf trap guard to the top of your downpipe. This will allow water to flow through, but will stop leaf litter blocking the downpipe.
If your building doesn’t have gutters, look out for problems with water building up on roofs or running down the walls. It may be that adding gutters could prevent the problem escalating into more serious water damage. If you don’t like the look of gutters you could consider rain chains as much more interesting solution instead.
Tip number 6: Get rid of some junk
Freeing up some space in your summerhouse or workshop won’t in itself prolong its life. But a good tidy-up and clear-out may help you spot damp, watermarks, mould, nests or other problems.
In particular, have a rigorous inspection of the interior next time it rains, searching for any new leaks or damp problems that need treatment.
Tip number 7: Look out for the windows
Internal timber window frames and sills can sometimes develop damp problems caused by condensation, especially outside the summer months. Applying a quick coat of clear wood treatment to internal sills and frames can head off these problems. If the sills or frames are already damp, you’ll need to dry them out first.
Tip number 8: Clean surrounding decking and paving
Throughout the autumn, clear away leaves from your decking, including from any gaps. They can cause discolouration and perhaps damp too. When damp and covered in algae decking and paving can be like an ice rink. A good clean with a fungicidal decking cleaner and reviver will help remove algae, moss and mould from decking and paving. You may also need to reapply decking stain or treatment once the timber has dried. There’s some good advice on the B&Q website.
Tip number 9: Check out your shed base
Grass and leaves around the foot of a timber building can reduce air flow around and under the building, and prevent wooden walls or foundation joists from fully drying out. This makes the building more vulnerable to problems with damp, even where you have pressure-treated timber.
Tip number 10: Hunt down your spirit level and try square
While you’re on a maintenance session, you may also want to ensure that walls, door frames and windows are still at 90 degrees to the ground. If not, you may be suffering problems with subsidence or damp. Your heart will sink at having to work out how to solve the problem, but better to do so now than when further damage has set in!
If you follow this garden shed maintenance advice early each autumn you should ensure that your shed or garden room remains in good condition and continues to provide you with many years of trouble free use (but if you do need a new one, we can always help!).
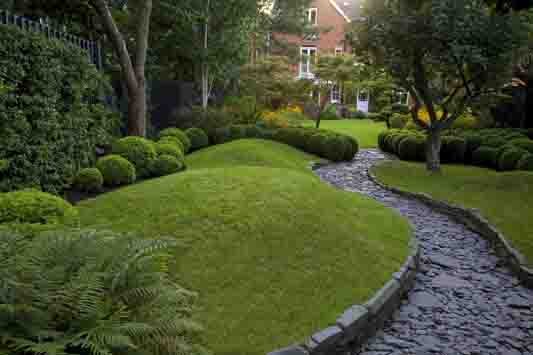
When it comes to beautiful garden design most people fail to consider the importance of the garden path. A path can just be a simple route from A to B, but it can also be the backbone of your garden design. A path can transform the appearance of your garden and how it’s used. Either way, a creative garden path could hugely improve your garden.
The practical benefits of a garden path
Take the same route from your backdoor to your garden office, compost bin, shed or garage a couple of times daily, and in a rainy year, your lawn could look like a mud bath. In a bad November you may need wellies just to reach the garage.
The best way to rescue your lawn is to build a path. Not only will you avoid the trench effect, but you could make your garden look longer, wider and more interesting.
Unusual garden path ideas: create an optical illusion
There are lots of clever tricks of the trade when designing a creative garden path. For example:
a path starting at 45 degrees from the house, and curving sinuously can make a garden look bigger and wider
a tapering path that narrows at the end of the garden can make the whole garden look longer
a path can steer the eye towards the garden’s best features, from an attractive garden building to a beautiful shrub. It can also create greater cohesion between your home and different garden buildings, or act as a divide, creating a route through different planting zones
solar powered lights can highlight a path at night, or even change its colour
The best material for a garden path?
The crunch of a gravel path is always satisfying; other benefits of gravel include:
it drains really well
it’s good value for money
it’s easy to lay
it has a low environmental impact
it can improve security (it’s very difficult to walk on a gravel path around a house without making noise)
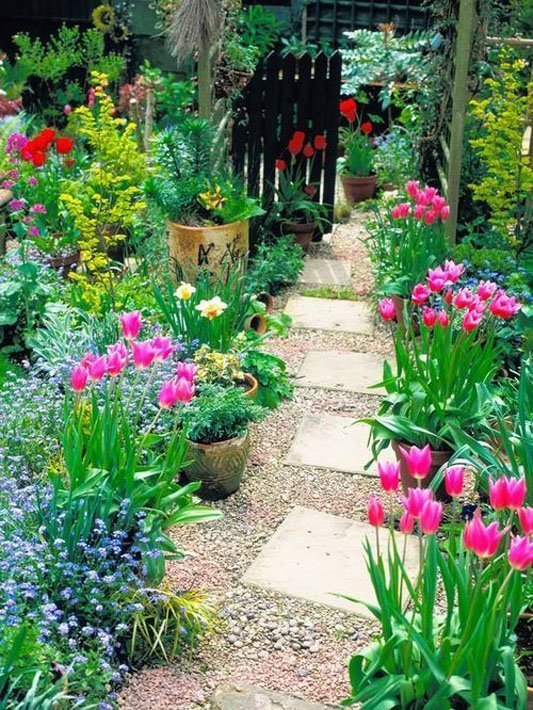
And though gravel paths are not the most exciting option around, visual interest can be increased by breaking up the gravel with groupings of natural stone or granite slabs. Or you could try planting ground cover perennials, such as alchemillla (ladies’ mantle) in the gravel.
If you’re looking for other garden path ideas there are lots to choose from. Cheap materials for pathways include wood bark, pebbles, wood chips or stone chips, the last of these available in a wide range of colours.
If using coloured stone chips, remember that the colour will intensify when they are wet, so choose your shade with that in mind. You should also consider the impact of the stone colour on neighbouring plants too. Neutral colours can help blend a path into its surroundings, whereas a contrasting colour such as white granite or grey/blue slate will make the path stand out. Whatever you decide, if you use gravel, bark, wood or stone chips it’s best to put a layer of weed proof membrane underneath to minimise future maintenance.
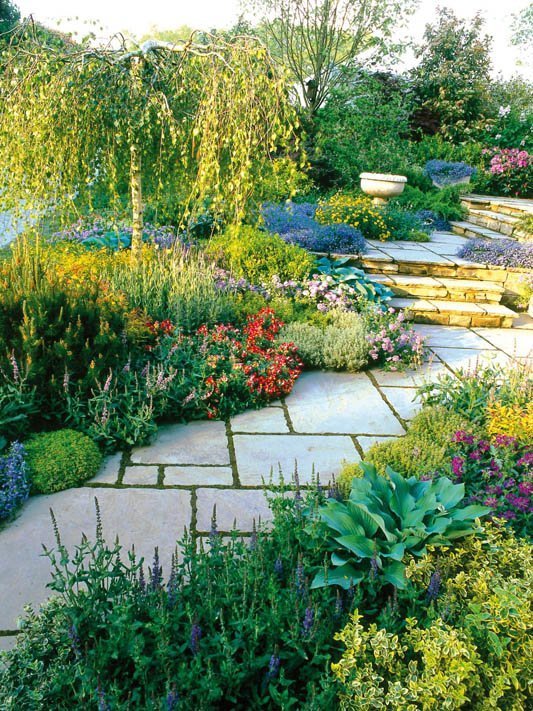
There are a vast range of other possible materials for an interesting garden path; from traditional York stone (either new or salvaged), to recycled bricks, modern concrete, wooden sleepers or even raised decking. Decking can also add height to your walkway, which adds extra interest.
Each material has its pros and cons, in terms of price, durability, drainage, ease of use, and general appearance. You can get a good idea of what’s available in your budget range on the Jewson website.
Garden path edging ideas
Edging a path will prevent gravel or chips from migrating into the surrounding grass, and also make it look smarter. Possible edging materials include timber (which should be treated pleasure-treated with preservative), terracotta or slate tiles, or modern steel edging.
The best width for your path will partly depend on the size of your garden. Also entering your decision-making should be:
narrower paths tend to encourage people to walk faster; broader paths offer more of an invitation to stroll
generally, garden designers recommend a path is wide enough for two people to walk side by side, but a practical A-to-B path to a bin or shed can be narrower
think about practicalities – whether you need enough width for a wheelchair or lawnmower, and if you should leave a gap in the edging to allow easy access for a wheelie bin or wheelbarrow
A straight garden path v. a curving garden path
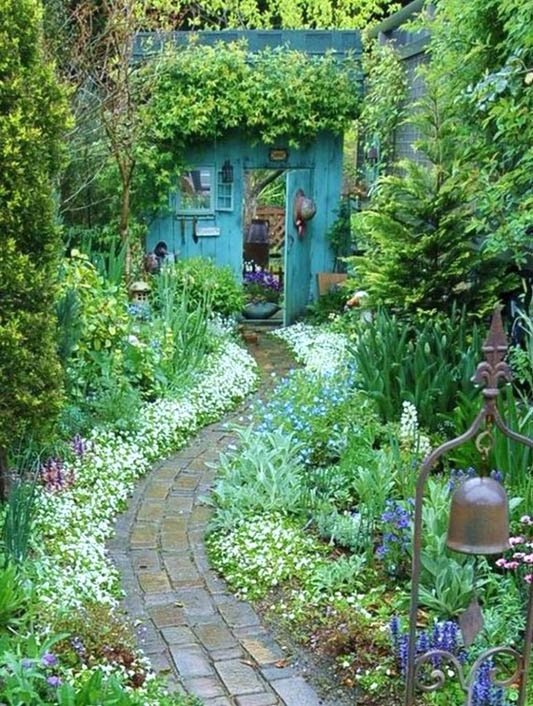
The shape of the path depends on your taste and the space available. A meandering or curved garden path will generally make your garden look more interesting or bigger, but may not be practical if your family are likely to head for the bike shed or workshop by the shortest possible route.
Curved paths are also relatively easy to make yourself if you intend to use materials such as gravel or woodchip. However, you may need a professional garden landscaper to lay a curved garden path made of paving slabs or timber decking.
Straight paths are more likely to be used in larger, formal gardens, and may do little to enhance the design of a smaller garden. But if you want to add visual interest to an existing straight path, the options include:
a pergola or arches to walk under
a fountain, water feature or pond with a bridge to walk over
interrupting the straight line by adding a paved area or bench part way along the path
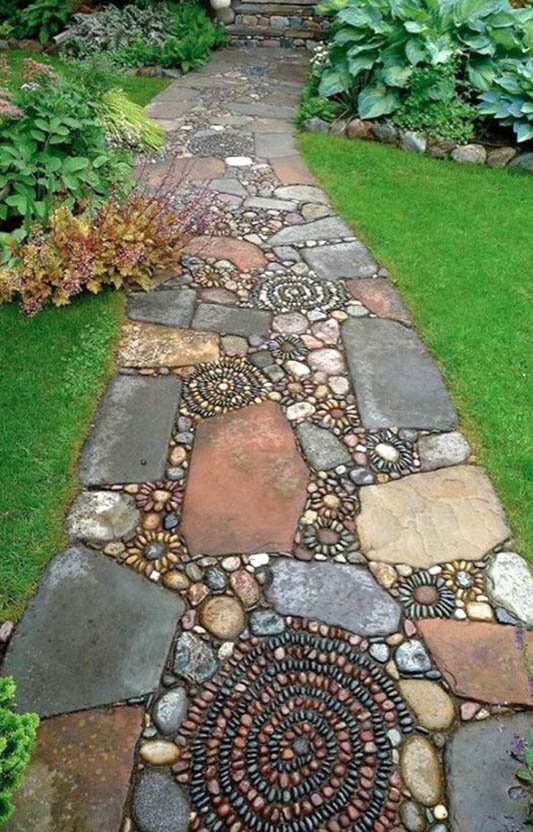
alternating between two different materials, such as mix of slabs and woodchip, or “stepping stones” slabs surrounded by gravel of a contrasting colour
There’s excellent guidance on building gravel, concrete or block paving paths on the Wickes website, and this also tells you all the materials you’ll need. From a spirit level to check that the base is level, to weed-resistant landscaping material for the base, to the right type of mortar.
If you follow these seven creative garden path ideas you could end up improving the look of your garden as well as making it feel bigger. You’ll also be rid of the quagmire that comes with winter weather too.
With many of our customers, we find that buying a summer house or garden room is part of a wider garden design overhaul. And the ideal complement for a new garden building is often a pond – perhaps in another part of the garden, or possibly built into a decking area or on a patio by the summer house.
After all, if you’re planning to spend more time in your garden, a pond can make your garden view more interesting and varied. And it can attract a huge variety of wildlife – from hedgehogs to dragonflies to frogs and newts, which as well as giving you something to look at, can also help to control slugs and snails.
A fountain or waterfall, either connected to the mains or a solar panel, can also add another dimension to your pond. Sitting on the decking outside your summer house can be very relaxing; add the calming sound of running water to the mix and you’ll be in heaven.
Making a garden pond is no longer the DIY project from hell
Go back a few years (or decades) and building a garden pond could be the DIY project from hell. I’m sure some of you have a few childhood memories of the bad old days of trying to build concrete or clay-lined ponds in the back garden.
Fast forward to today, and these projects are far easier, with a huge choice of liners, both molded and flexible. Possible materials include fibre glass, PVC, butyl and EPDM; they all ensure that making a garden pond is a lot easier than it used to be.
The affordability and range of mini-diggers also allows for a large pond to be dug in even an average sized back garden (or one with ground too difficult to excavate by hand). A summer house with decking overhanging a large landscaped pond is no longer the complex and expensive task it once was.
Choosing the best garden pond liner
The advantage of molded or preformed pond liners is that they don’t puncture or tear, but they don’t allow you much flexibility in the design (typically rounded triangles, rectangles or squares with two different depths). In contrast, PVC, butyl and EPDM liners are cheaper, and used much more frequently, but are more susceptible to leaks (a good layer of sand, or even carpet underlay, is recommended under such pond linings).
There’s also a material called Bentomat, which is ‘self-mending’ and made from natural materials. It’s easy to install and is often used for large-scale constructions such as canals or fisheries, but can also be used at home to make a small garden pond.
As well as researching pond liners, you’ll need to think about where you position your pond. You’ll probably want to have it somewhere you can see it – either from your house, or from your new summer house. Partial shade is recommended, since too much sunlight can encourage algae growth. But water plants will also need sun for part of the day, so avoid all-day shade.
Having trees overhanging the pond is not ideal, as you’ll have to spend time removing dead from the leaves. Tree roots could also end up puncturing your lining.
It’s a good idea to avoid building the pond in a spot that is boggy or marshy. You wouldn’t think this would matter, but having a high water table underneath the pond can cause damage to the liner when the water level rises.
There are good tips to get you started on a simple rectangular liner pond with a decking surround on the Gardeners World website. If you want more nuanced ideas on shape, position and designing a pond, take a look at World of Water.
One solution for areas where digging isn’t possible, or the water table too is high, is to have a raised (or partially raised) pond. You won’t get rising water (or roots) damaging your liner, and raised ponds can often be safer for children and animals than sunken ponds.
A further benefit of raised ponds is that, with less digging and excavations to do, they can be easier to build (for instance, making a garden pond out of timber is a lot less backbreaking than excavating heavy clay soil). They can stand on pretty much any sturdy surface, as long as it is stable and can bear the weight of the water, such as concrete, paving, earth or decking.
Finally, if you plan to watch your own garden wildlife show from your new summer house, you’ll need a wildlife-friendly pond. For example, it’s vital to think about how small animals or amphibians will get in and out of it. Clearly, raised ponds are less mammal-friendly; and so are ponds with steep sides, where animals will struggle to get out.
Instead, you’ll need gently sloping sides, and perhaps a beach or ramp made out of stones or pebbles. You’ll also need a range of plants that are wildlife-attracting and can help oxygenate the water (particularly if you want to keep fish, and like clear rather than murky water). If you get the right mix of plants you can attract frogs, toads, newts and dragonflies, and other creatures such as birds and hedgehogs may well use the pond to drink.
Once constructed and planted, your garden pond will soon improve the look of your garden. It will give nature a helping hand, offer a beautiful view from overlooking windows or the summer house, and when combined with a fountain or some subtle underwater lighting, a relaxing addition to the patio, border or decking.
There’s a lot of talk about man caves recently, but here’s something less familiar, the “she cave” or “she shed”. All over the country, old sheds are being renovated, or new ones installed, as women take over gardens and backyards. No longer are garden sheds and workrooms the preserve of men only.
You’ll find plenty of inspirational ideas for garden she caves online – yoga havens, hobby rooms, temples to pink, 50s diners recreated in someone’s backyard, beach huts transported to a suburban garden, or an oasis away from TVs, PlayStations or children asking for food.
And if you go beyond the stereotyping, there are plenty of other uses for a well-built timber she shed. Somewhere to write, paint, or store your collection of power tools. Somewhere to start a business, so you can work at home and avoid the tedium of commuting.
And most important of all – somewhere that belongs to you, where you don’t have to compromise on taste in design, or trip over someone else’s belongings.
This applies equally to she sheds and man caves. If you want a living space entirely themed to Star Trek or Downton Abbey, then having your own garden room is probably the best way to do it. And if those aren’t your thing, but you still want a timber she cave, then here are a few of our top selling garden rooms.
Best garden she shed for a tight budget or a tight space
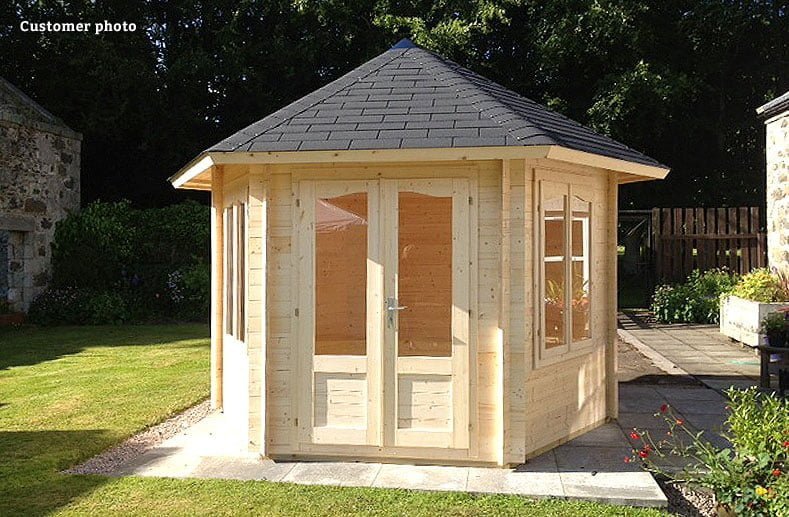
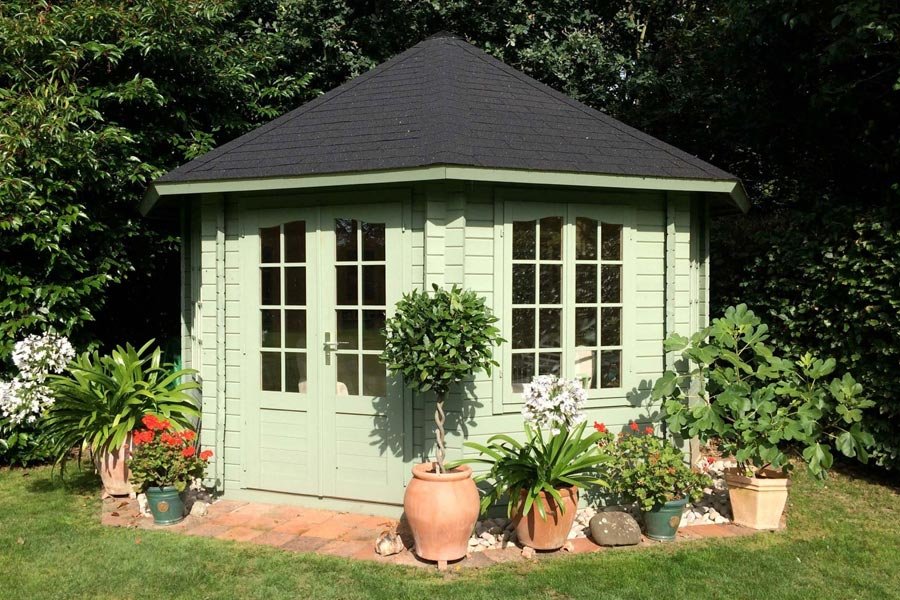
Our GL27 garden building is a low-cost summer house that won’t eat too far into your wallet or your garden. The corner design lets light flood in through the double doors and full-height windows, and it’s spacious and airy. It’s an ideal space for a glass of prosecco and some good chat. The perfect, low-cost, timber she cave. If you like the corner design but would like something bigger, you could try the Nene summer house (shown in the feature photo at the top of the post).
Best timber she cave for a workroom or hobby room
There’s some serious storage space in the GL87 timber cabin, so this would be an ideal she shed if you want to store materials or tools – from canvases to sewing materials to fitness equipment. And imagine the joy of not having to share your storage cupboards or drawers with other people’s stuff!
The cabin has 34mm timber walls, meaning it is insulated enough to use in the cooler months – a true year-round garden she cave.
Best garden she cave for a yoga room
The hexagonal Hareford pavilion measures over 3m in diameter so there’s plenty of room to stretch out your yoga mat. And you can enjoy 180-degree views of the garden while you do your Downward Dog.
With 34mm timber walls and a 19mm real wood floor, it would be snug and warm on a rainy day. It’s available on 8-10 day express delivery, so you wouldn’t have to wait long to treat yourself for that she cave you’ve been longing for.
Best she shed for a day bed
Yoga, workrooms, gym equipment … this is all becoming a bit energetic. So, here’s a perfect backdrop for a day bed – the Wye summerhouse with a traditional clockhouse design. There’s also room for some comfortable chairs, or a writing table or art area in case you ever want to pretend you’re busy.
Best garden she cave for a change of lifestyle
Our Finn garden room would both make an ideal home office. With 44mm timber walls and double-glazing, it’s intended for all-year round use, and the stripped-back design looks professional and modern.
You could use it as your own home office, with room for storage space, IT equipment and work materials. Or, with its 5.3m by 3.8 dimensions, it’s also big enough for customers to visit or for a desk for a colleague.
Just imagine – no more commuting for hours to the office; just a quick walk across the garden to your beautiful she cave/office, and the excitement of running your own business and taking control of your life.
And just to make the process even easier, Finn measures less than 2.5m high, so most people won’t need planning permission to install it in their garden (though you should check this, because regulations in some areas are different).
We could show you many other ideas too – best she sheds for impressing your friends; best she caves for entertaining; best she sheds for a home gym, but it’s probably best if you browse around our site yourself, and give free rein to your own day dreams for a space of your own…
If you want to learn to grow your own fruit you will be rewarded with an improved diet and a more beautiful garden, not to mention the fact that you’ll helping out pollinators such as bees and butterflies (and reducing your carbon footprint). But there are so many fruits you can grow in a British garden; where do you begin, how much space do you need, and how easy are different fruits to grow?
1. Strawberries: A quick (and delicious) fruit fix
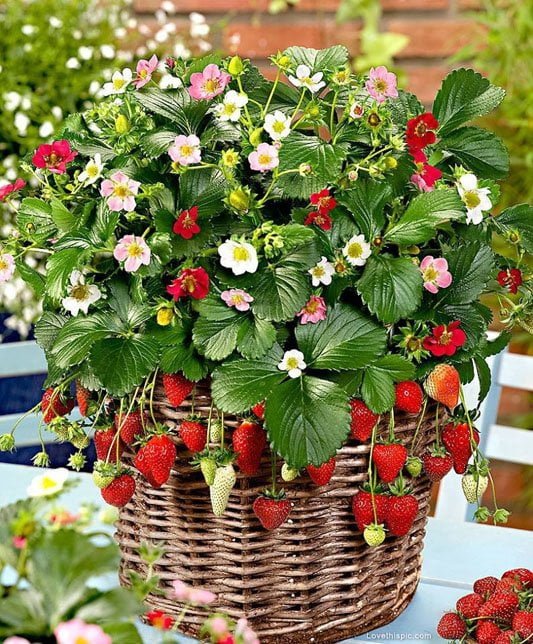
If you’re looking for quick results and ease of growing, you may well start with strawberries. They can be grown in garden beds, containers, pots, grow-bags and even hanging baskets. They can thrive anywhere as long as they get enough sun (a pot of strawberries growing on a kitchen windowsill looks great), and there are plenty of tips on growing strawberries to be found on the RHS website.
2. Rhubarb: great for reluctant gardeners
When it comes to growing your own fruit, even easier than strawberries is rhubarb, which grows well in sun or partial sun, and even in poor soil. The results won’t be instant – you should wait until a plant’s second year before harvesting – but the plants need minimal maintenance. And since rhubarb is usually ready to eat from April, it won’t add to your late-summer/autumn glut if you are already growing soft fruit or fruit such as apples, pears and plums.
There’s a useful guide to growing (and cooking with) rhubarb on Jamie Oliver’s website, but remember, rhubarb leaves are highly toxic, so don’t cook them or let children eat them.
3. Looking for a more unusual fruit to grow? Try quince
One good option is to grow fruit that isn’t readily available in supermarkets and other shops. The quince is a great example, tasting similar to a cross between apple and pear.
Quince trees don’t stand up well to late frost, so may not be suitable for northern gardens. But, other than that, they should do very well in most British gardens – including urban or coastal gardens – as long as they get sun and some shelter. They can also be grown in containers (which is handy if you want to move the plant to a more sheltered spot during the winter).
Once you have grown your quinces, what can you do with them? Well don’t start by eating them straight from the tree – they really need to be cooked before they are consumed. They’re brilliant turned into jams, jellies (as an accompaniment to meat, especially game) or for baking tarts and crumbles.
4. Up the stairs, apples and pears
Admittedly, quince may be a bit esoteric, so let’s go back to the mainstream. Apples from your own tree taste so much better than shop-bought versions; growing your own also gives you access to varieties beyond the usual supermarket Granny Smiths and Gala…
First points to decide are whether you want to grow apples in a container or in the garden, and whether you want dwarf or full-size trees. As you would expect, the Royal Horticultural Society website has lots of advice on choosing and tending apple trees. Thompson & Morgan has a good selection of easy to grow apple and pear trees, and the excellent information about each variety will help you choose the best one for you and your garden.
A good garden centre will also be able to help you choose the best variety for you and your garden. If you’re short of space apple and pear trees can be trained to grow along a wall (ideally south facing), or if you want to do something unusual, you can make an architectural feature out of the trees by training them to grow into an arch or tunnel (so you can walk through and under the branches).
Maintenance of apple trees is straightforward – they may need watering in dry periods, especially if they are newly planted or in a container, and will need pruning once a year.
5. Berries and currants
The old-fashioned British garden wasn’t complete without a selection of berries and currants growing – from raspberries to gooseberries to blackcurrants. Most of these will thrive in British weather, and don’t require much in the way of maintenance (apart from the occasional prune, and possible netting in late summer if the birds in your garden start getting a bit peckish), so they are ideal if you want to learn how to grow your own fruit.
There’s excellent, straightforward advice on planting fruit bushes on the Homebase website – which type you choose to plant may depend on which you like eating most!
6. Look to the continent
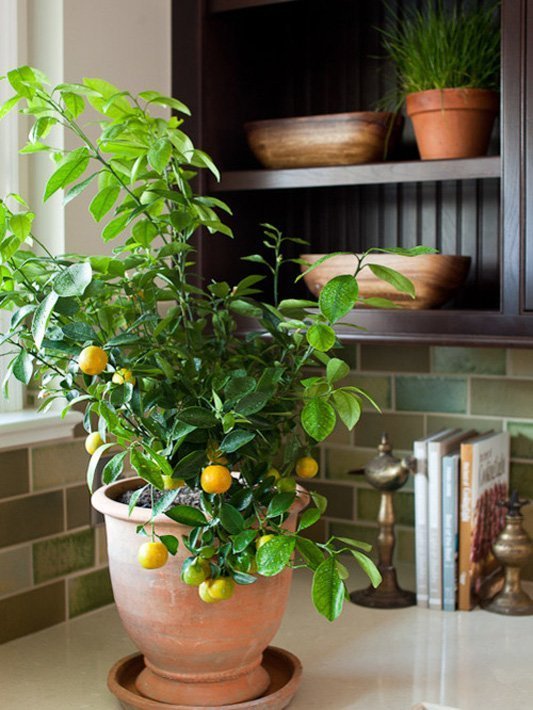
If you want to learn to grow your own fruit but think apples and strawberries are just too traditional, you could try olives, figs, citrus, apricots or peaches. If you’re the owner of an exposed garden in the north, this may be challenging – outdoors, at least – but gardeners in southern England should have more luck.
According to one gardening expert, climate change is opening up new possibilities for growing fruits such as apricots and figs. It’s also making it easier to cultivate a more interesting choice of plums – for example, French-style varieties such as mirabelles.
Olives should do well in an unheated greenhouse or conservatory, and should grow outside if you have a sunny, sheltered garden. They generally take 3-5 years to produce fruit, so patience will be required. If you want to try this at home, there’s easy-to-follow advice on the Eden Project website.
A tree with 40 different types of fruit? It sounds like a hoax, but what started out as a rather eccentric idea has turned into a wonderful reality. By way of grafting branches of different fruit trees onto one plant, Sam Van Aken has created a real tree that blossoms and later bears 40 different varieties of fruit (just watch the video above). Whilst this epic undertaking is probably beyond the gardening talents of most people, it may be worth considering as a point of inspiration: if you are short of space and don’t have room for any more trees, how about asking a neighbour for a clipping from a different fruit tree and grafting it onto one of your own trees? You may end up with one fruit tree with a few different varieties of fruit!
8. Learn to grow your own fruit: further inspiration